~/projects/gakken
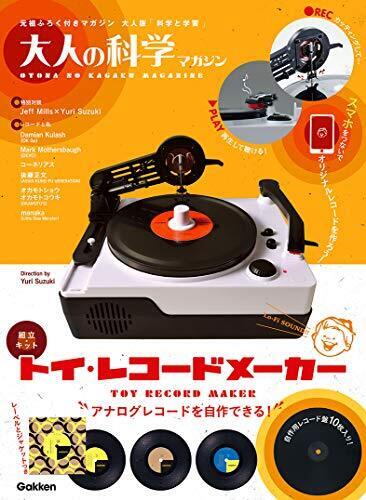
The Gakken Toy Record Maker was released by a Japanese adult science magazine in an attempt to bring the cost-prohibitive activity of lathe cutting records to the DIY crowd. Limited by 5v, the integrated amp send an audio signal from the 1/8" input to an electroacoustic exciter (speaker without a cone) on the cutting head.
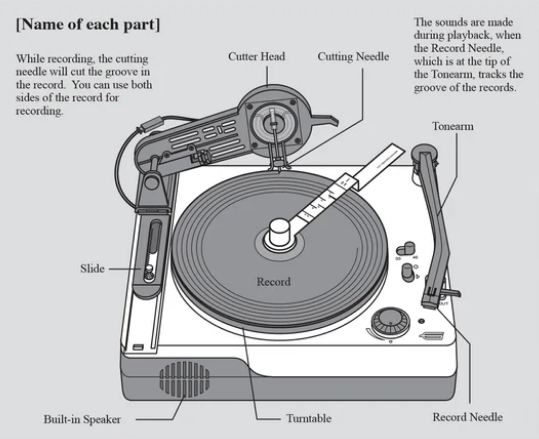
The needle is firmly attached to the exciter and carves the mono waveform out of the disc, removing a small amount of plastic along with it as the disc turns. Along the way, someone figured out that you can emboss the surface of the disc, rather than cut it, resulting in higher fidelity and less wear on the cutting needle. The easiest way to explain the difference is removing material versus scratching the surface.
This comes with some trade-offs, often in the form of limiting higher/lower frequencies (often known as an RIAA curve) or slowing down the source audio to etch at 33rpm and playback full-speed at 45rpm. These tactics can be used for better results, but are not strictly necessary.
The 5" plastic records that come with the device are sufficient for testing, but a superior PETG alternative can be found at Blanq Records.
I’m still working on processes, but the following notes may be of use to others:
new device prep
- Grease any moving parts (sliding arm, reducer, plate, etc.)
- Ensure needle is rotated 180 degrees from cutting position.
power source
- USB-battery pack for consistent DC voltage. Most 5v wall adapters will provide inconsistent voltage that will affect physical etching.
source audio
- .WAV format
- 44.1kHz sample rate
- Bit-depth of 16 or 24
- Reduce from stereo to mono in DAW
disc prep
- Remove protective film (if any)
- Warm disc under lamp for 5 minutes
- Evenly coat cutting side of disc with Turtlewax Matte-Finish Cockpit Cleaner. I know, it sounds strange, but it works well to prep the surface and lubricate the embossing.